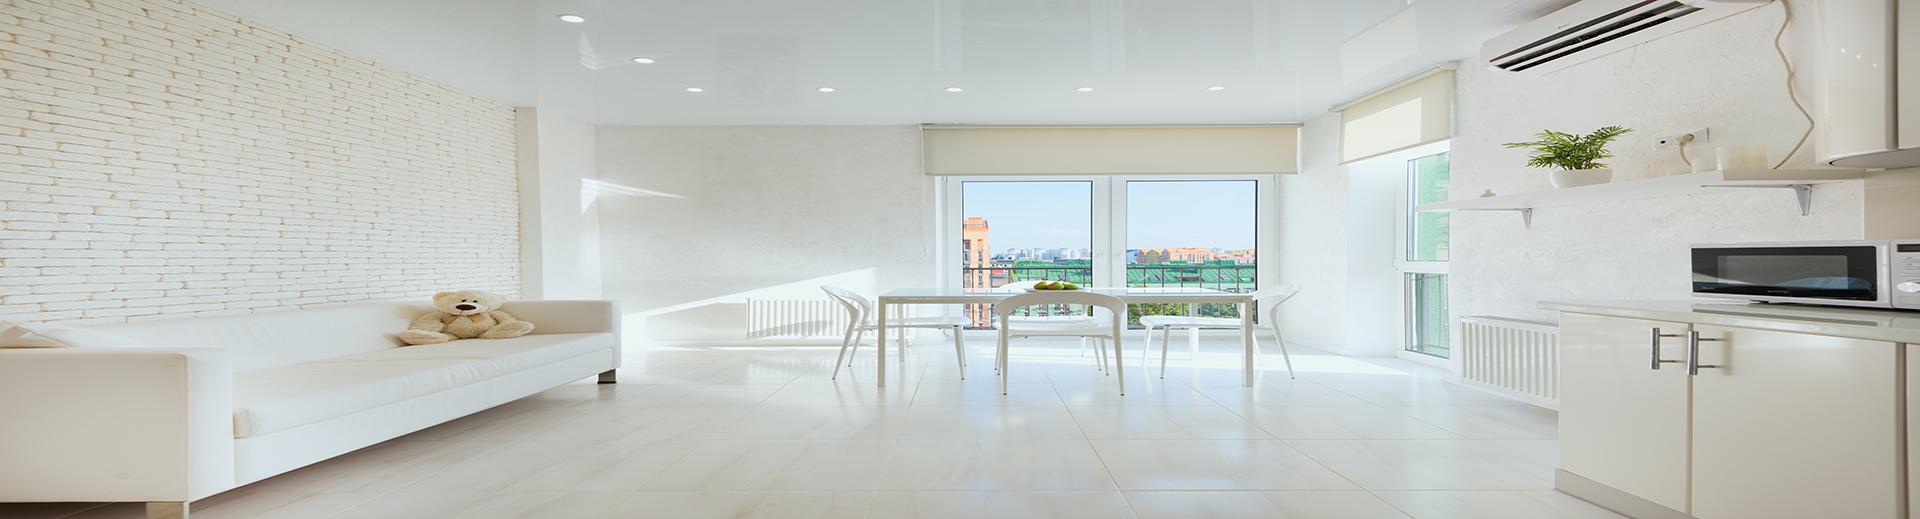
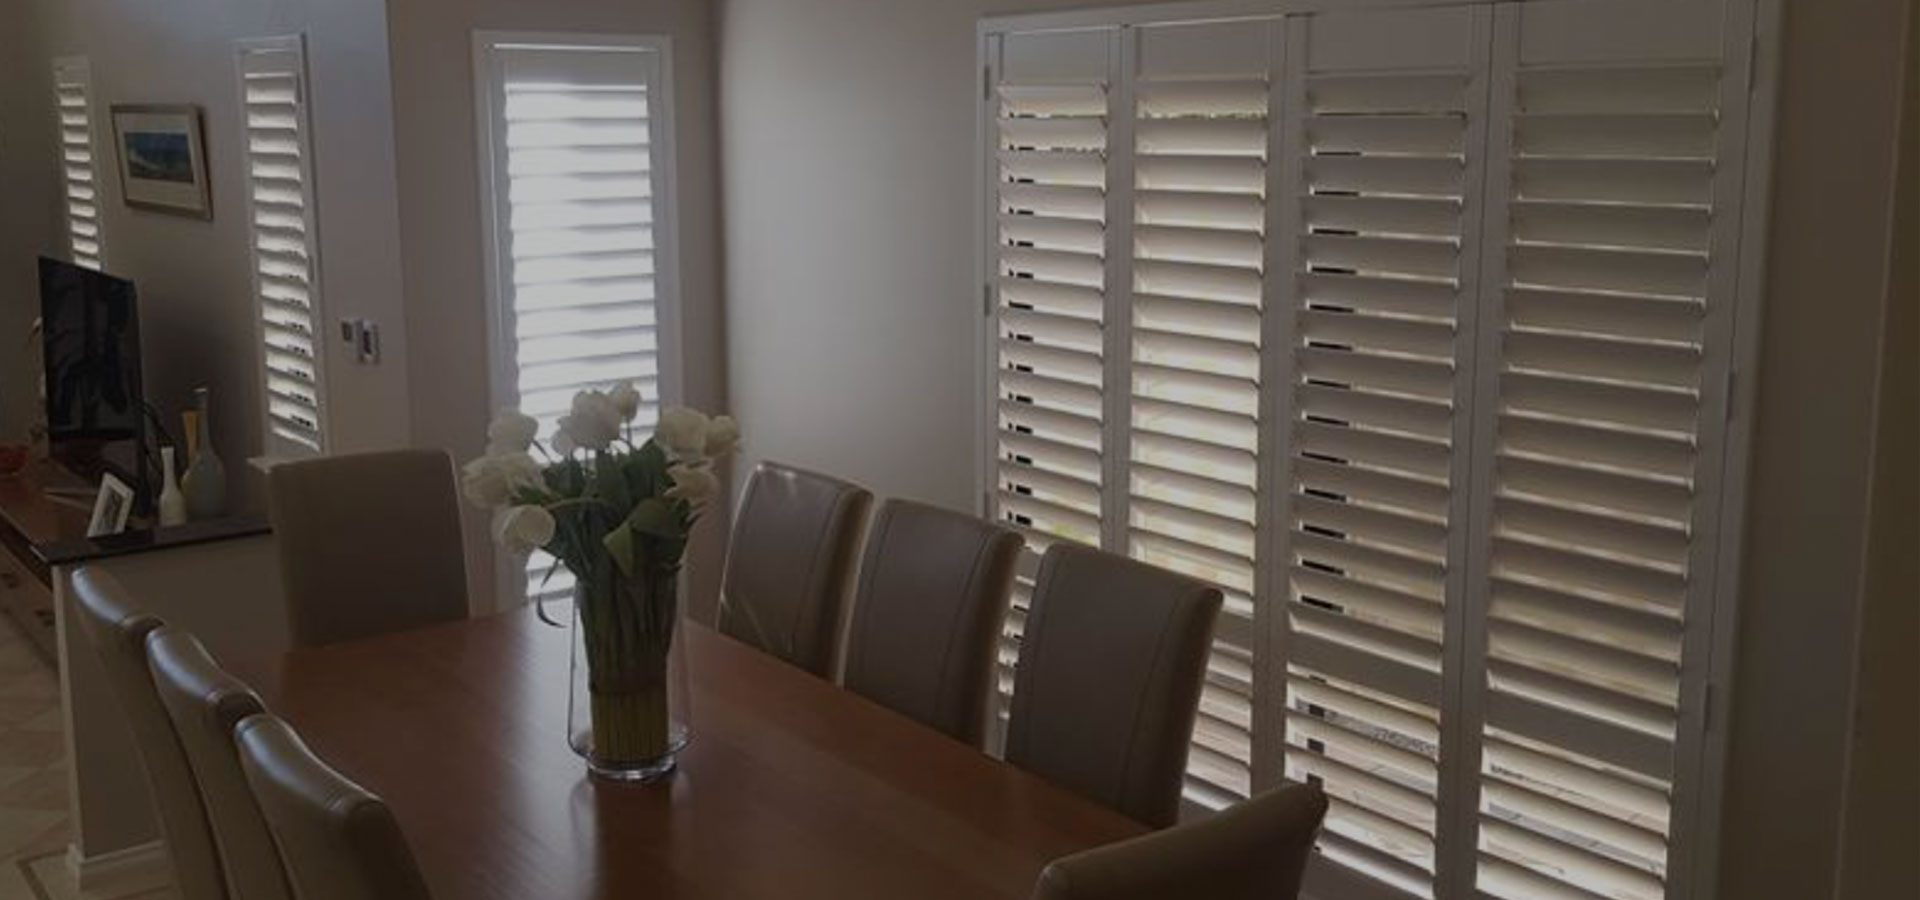
Shutters are a versatile element that adds a touch of classic comfort to homes of many types. They are dramatic and stylish. Homes with shutters feel cozy, lived-in, and welcoming. They might not look their best, though. A gorgeous new coat of paint makes shutters look much more effective. You have bought the shutters from a renowned store in Perth, so it is your responsibility to take care of the investment.
Colour can alter how your shutters draw attention to a window or doorway and even distort their size. Opt for a striking contrast colour that will captivate onlookers, or go for a pleasant, complementary colour that will draw attention to the existing colour of your home’s façade and give the entire facade a polished, unified appearance.
Still, you can only accomplish these design effects if the work is done correctly. These are the procedures that painters suggest following to get your home’s shutters ready for a new coat of paint.
- Make Them Clean
Despite their modest size, shutters require careful installation, so don’t rush the process. They still require your attention as you get them ready for paint. In the absence of preparation, paint may turn out uneven, bubbly, or streaky. Early fading or cracking of the paint is possible.
Your shutters should be cleaned first to avert all of these catastrophes. To begin, rinse them off with a hose rather than giving them a pressure wash. After adding a small amount of soap or detergent, gently scrub them. Why bother cleaning a surface outside that will inevitably become dirty again? A clean, smooth paint finish might be hampered by dust, mildew, and other debris.
To complete the task, rinse away the soap. Spots of mould or mildew can be cleaned with a diluted bleach mixture and then rinsed. Dry them entirely with a pat.
- Set-Up
You must prepare your paint station before you begin painting. This entails safeguarding the environment. To stop paint from getting where you don’t want it to, you might want to wrap painter’s tape over the shutters’ edges. It would be challenging to touch this up later because you would need to locate an identical match for the exterior wall paint you currently have.
Another option is to take off the shutters and paint them independently. This would remove the requirement for plastic cloth windows and plant protection. Assemble your workspace with paint, primer, and an ample amount of sanitized brushes.
- Additional Advice
Shutters that are brilliant or dark should be primed. Further coats of paint could reveal these colours. Make sure the paint you use is appropriate for the material of the shutters. For example, acrylic paint works better on vinyl shutters, but exterior latex paint works better on wooden shutters. Use only paint designed to withstand outdoor conditions while painting outside.
Steer clear of painting in overly humid or direct sunshine. Allow enough time for priming, painting, and drying the paint. To ensure that the colour applies smoothly and has a dramatic appearance, add a second layer of paint.
A home’s shutters are the ideal location for an accent colour. Generally speaking, you want to select a hue that makes a big difference to distinguish the shutters from the rest of the house. Alternatively, just choose a shutter colour three shades darker than the siding colour. Doors and shutters can be painted the same colour to reduce the total number of colours used in house siding. This is a wise option if you’re worried the outside may look overly busy. But painting doors and shutters the same colour isn’t the only option. If you choose to paint your shutters a different colour than your door, be sure that the shutter colour matches a different colour on the house.